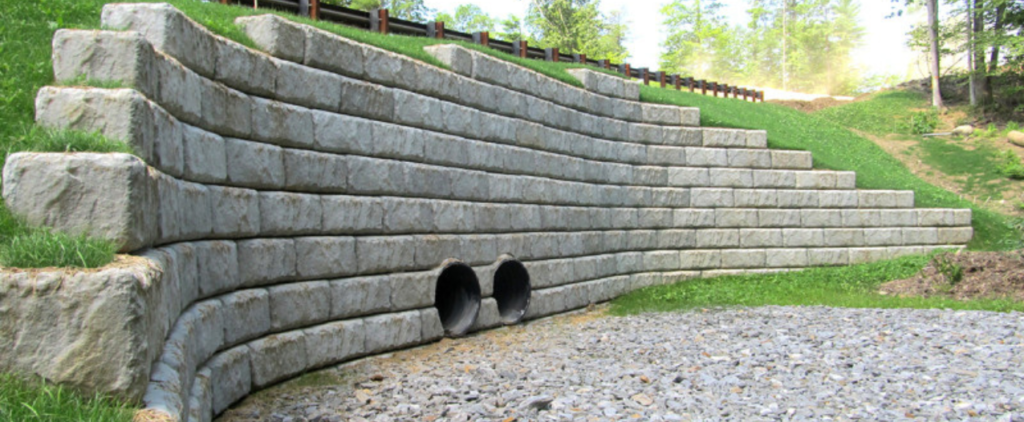
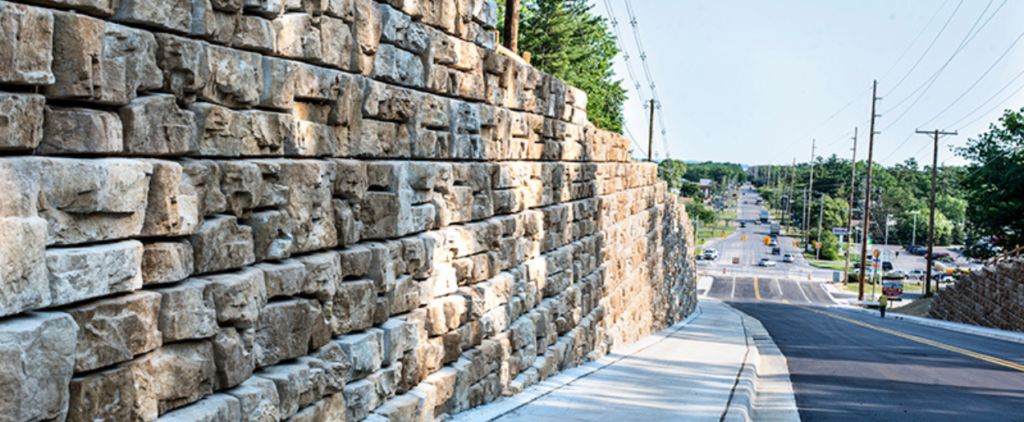
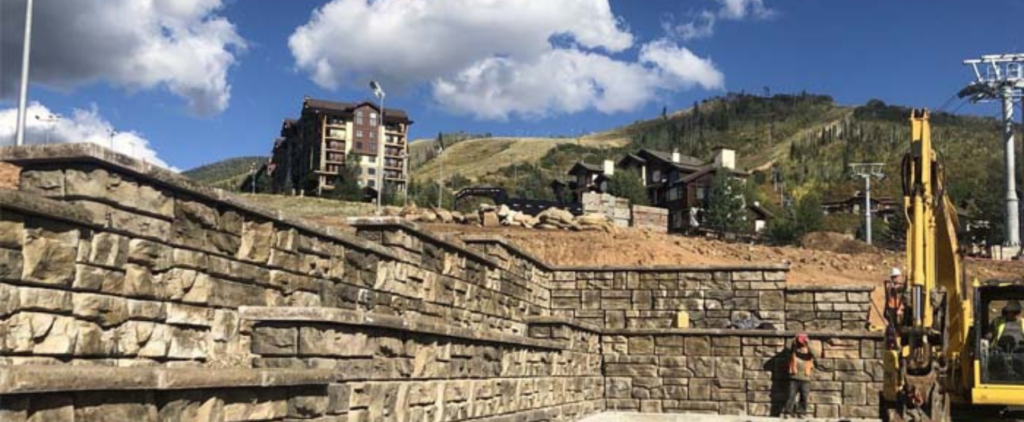
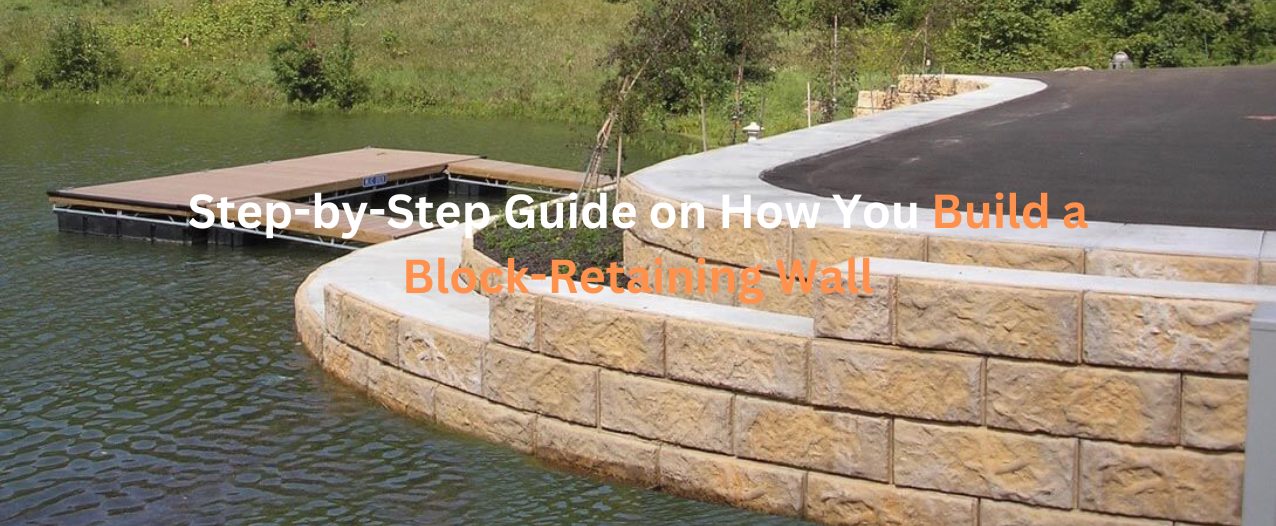
Are you considering building retaining wall blocks in your backyard? It’s a good option for giving your outdoor area structure and design. More than merely keeping dirt back, a well-constructed retaining wall can level off slopes, create level areas, and add visual interest to your landscape.
And you know what? Building one doesn’t require you to be an expert! You can construct a durable wall with the correct equipment, a little perseverance, and a little elbow grease.
So, what should you know before you begin? By the end of this blog, you’ll have all you need to have that wall up and look great, so let’s get started with a step-by-step guide on how you build a block retaining wall.
Why Build a Block Retaining Wall?

Have you ever noticed how retaining walls can alter the appearance of a yard? They are ideal for constructing garden layers, outside dining sections, or even a comfortable campfire zone in addition to preventing dirt from pouring everywhere.
But before diving into the core topic of “how to build a block retaining wall” let’s first know why you should build a block retaining wall. Below are some of the following reasons:
Erosion Control: Do you have a sloping yard? By keeping soil in place, a retaining wall prevents erosion.
Extra Yard Space: Unusable slopes may be transformed into level-use spaces for gardening, dining, or even a play area with the right wall placement.
Visual Appeal: Retaining walls give any yard a polished, expert appearance. They immediately improve the area, regardless of whether you choose a sleek modern look or a rustic one.
Also Read – Customizing Your Outdoor Space with Natural Stone
How You Build a Block Retaining Wall?
Let’s go right to the point – how do you build a block retaining wall? So let’s divide this process into smaller, or more manageable parts that will be helpful while building the retaining wall. Here are they:
Step 1 – Mark the Layout and Excavate the Area

The key to this initial stage of “ how you build a block retaining wall” is preparation. Have you chosen the precise location of your wall? Marking out the wall’s placement is crucial, particularly if you desire a certain form or are working with slopes.
- Mark Your Outline: Mark the shape of your wall with thread and posts. Make sure everything is in line by using a level.
- Double-check the Measurements: As they say, measure twice, dig once. Before starting construction, make sure everything is perfect.
- Start Digging: After you are satisfied with your layout, dig a trench that is around 6 to 12 inches deep and twice as broad as your blocks.
Quick Tip: Take your time removing any pebbles or roots you come across. A solid wall requires a clear, level trench.
Step 2 – Building a Solid Base
If you want your wall to last, a solid base is non-negotiable. Think of it as the backbone of your wall.
- Layer the Gravel: Spread a 6–8 inch layer of crushed gravel along the trench and smooth it out. Imagine the gravel as a cushion for your wall—it helps distribute weight and keeps things stable.
- Compact the Gravel: Use a hand tamper or a plate compactor to press the gravel down firmly. This is where the magic happens: compacted gravel will hold your wall firm.
- Check for Leveling: Go over the compacted base with a level. Uneven foundation? Adjust it now before laying any blocks.
Step 3 – Laying the First Row of Blocks
For example, when creating the foundation for a home, the first row is very important. So, take your time and make sure it’s perfect.
- Start from the Lowest Point: If your wall is sloping, always start at the bottom and work your way up.
- Level as You Go: Carefully place each block, making sure it is level from side to side and front to back. Make any necessary adjustments with your rubber mallet.
- Set Blocks Snugly: Ensure that every block fits snugly against the one before it. Better stability results from a tight fit, therefore gaps should be avoided.
Also Read – How to Clean Sandstone Blocks: A Comprehensive Guide
Step 4 – Stacking the Next Rows and Adding Reinforcement
Now that you’ve established your first row, it’s time to construct the wall row by row.
- Stagger Your Blocks: Each block should be positioned halfway above the one underneath it. The wall is strengthened by this “running bond” or overlapping pattern.
- Check Alignment Frequently: Make sure everything is level by taking a step back after each row. Catching minor adjustments early is advantageous since they can pile up.
Quick Question: Does your wall appear to be straight? After every row, take a step back and check; it will save you trouble later.

Step 5 – Backfilling and Compaction
Backfilling is where your wall gains strength, so don’t skip or rush this step.
- Layer in Gravel as You Build: With every row, add a layer of gravel behind the wall. Gravel allows water to drain, preventing pressure buildup.
- Compact Each Layer: After each row, compress the backfill with your hand tamper. This keeps things stable and stops them from settling.
Step 6 – Capping the Wall and Final Touches
Capstones are the finishing touch on your wall, giving it a polished, complete look.
- Lay Down the Capstones: Carefully put each capstone after applying construction glue to the top of the last row of bricks.
- Make It Secure: To make sure each capstone adheres, use hard pressure. These stones aid in keeping things in place after they’re dry.
Conclusion
Hope, this blog finds you well. There is no doubt that building a block retaining wall can be a difficult task to deal with but with our “how to build a block retaining wall” guide you can easily build a block that is ever-lasting and never takes a moment when it comes to impressing others.
If you are someone, searching for a retaining wall or sandstone edging then considering us, Maroota Sandstone, can be your best decision. We have a variety of options from sandstone garden edging to retaining walls that will definitely play a big part in making your space more enduring.
So choose us, and dive into our extensive collection that is truly meant for your space. You can simply browse our website and unleash various options that will be suitable for you.
FAQ’s
1. How does a block retaining wall work?
Ans: A block retaining wall holds back soil using the weight of the blocks and their interlocking design, providing stability and preventing erosion on slopes.
2. What materials are needed for a block retaining wall?
Ans: Key materials include retaining wall blocks, crushed gravel for the base and backfill, geogrid fabric for reinforcement (if needed), and construction adhesive for capping.
3. What type of retaining wall is best?
Ans: The best type depends on your landscape needs; block retaining walls are durable and great for DIY projects, while poured concrete and stone offer high strength for larger or more complex designs.
4. What is the basic rule of retaining wall design?
Ans: The basic rule is to ensure proper drainage behind the wall, use a solid base, and build with a slight backward slope to withstand soil pressure.
5. How are retaining walls constructed?
Ans: Retaining walls are built by preparing a level base, stacking blocks in an interlocking pattern, backfilling with gravel, and securing the top with capstones.


