
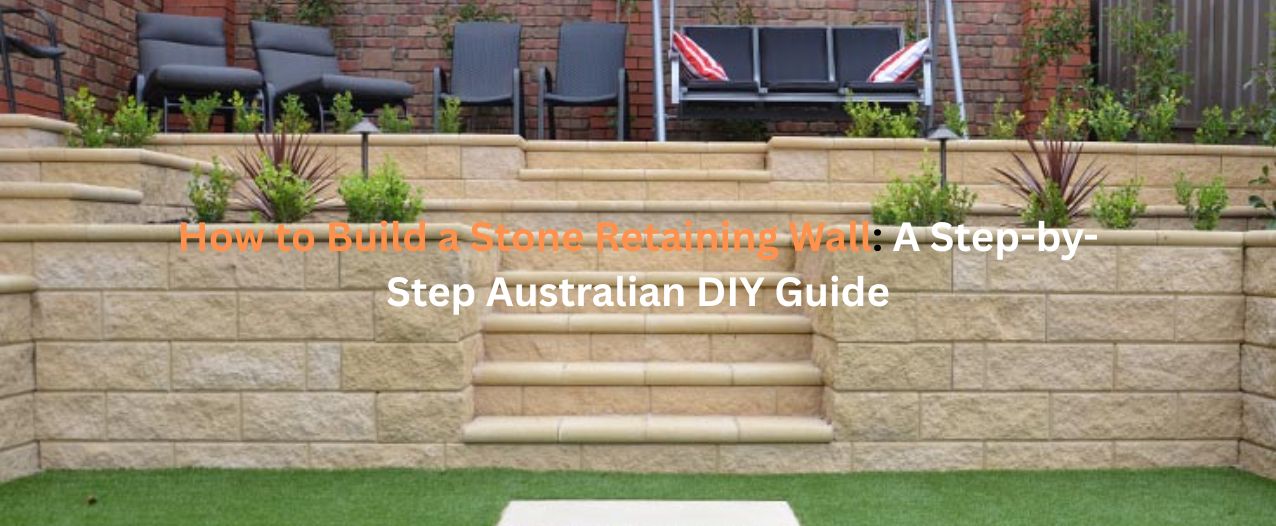
Have you ever thought, “Well, that’s wasted space,” while you gazed at that uncomfortable slope in your backyard? You’re not by yourself. In many Australian backyards, there are odd levels, deteriorating garden beds, or that one area where the earth simply won’t stay still after a heavy downpour. It’s annoying. Even if you want to use the area, it doesn’t feel like it’s useful.
A Sydney sandstone block is the ideal solution for such a situation. And no, you can accomplish it without breaking the bank or hiring a team. This handbook is for do-it-yourselfers, weekend warriors, and anyone who would rather be outside doing anything than wait for bids and tradespeople.
We’ll go over the process of building how to build a stone retaining wall step-by-step, providing the type of advice that comes only from someone who has actually done it. Just what you need, delivered direct, with a dash of backyard facts thrown in. No nonsense, no dull how-to voice.
Why Choose a Stone Retaining Wall for Your Aussie Backyard?
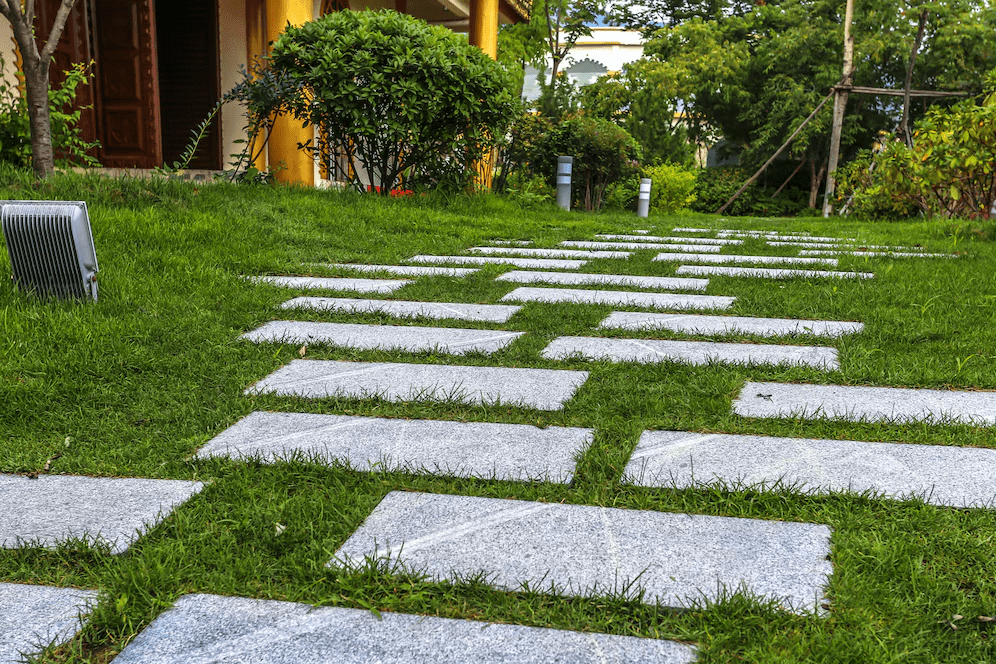
Let’s discuss why stone is such a good choice, both literally and symbolically, before we get into the tools and trenches.
It holds your ground.
The weather in Australia is crazy. Your garden is essentially a river one week and bone dry the next. Soil, mulch, plants, and your sanity are all kept in place by a stone retaining wall.
It makes the awkward space usable.
You have been neglecting that sloping corner? All of a sudden, the vegetable patch is level. A place for a bench. Even a neat edge that gives the impression that everything else is cleaner.
It actually looks good.
Something about stone simply seems right. It works well in both contemporary and rustic yards, as well as coastal gardens, and it mixes in with the Australian bush. And as you mature, it just gets better.
It’s built to last.
If you create it correctly, it won’t disappear. No rotting, no warping, and no annual touch-ups. You will receive structure and style for years, possibly decades.
Planning Your Project – Before You Lay the First Stone

Now, let’s speak about preparing before you ever consider lifting a concrete block retaining wall. Later on, you’ll save time, money, and a few expletives by doing this.
1. Scope out your yard like a pro (or at least pretend to).
Go for it. Observe the water’s flow after it has rained. Determine the wall’s intended location and purpose, such as retaining dirt, establishing levels, or halting erosion.
2. Check the rules.
Not enjoyable, but essential. Certain councils set height restrictions (often 600mm) before permissions are required. Give yours a call and inquire. It’s simpler than handling it after you’ve constructed.
3. Grab your gear.
Here’s what you’ll probably need:
- Shovel
- Spirit level
- Rubber mallet
- Wheelbarrow
- Crushed rock or road base
- Landscape fabric
- Ag pipe (for drainage)
- Your stone of choice
- Gloves (seriously, you’ll regret skipping these)
Tip: Work out how much stone you need, then add about 15%. You’ll always need more than you think, cracked pieces, weird shapes, etc.
Step-by-Step: How to Build a Stone Retaining Wall
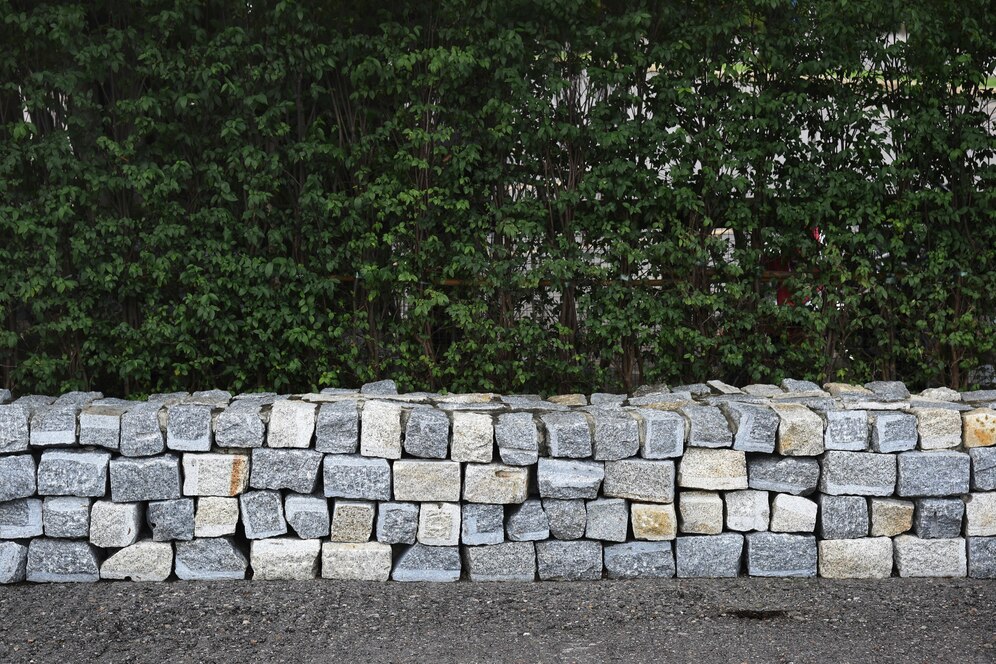
This is the point at which we get down to business. You only need to be ready to get a little filthy and take your time; you don’t need to be a builder for how to build a stone retaining wall.
Step 1: Mark out your wall.
Mark its path with poles, twine, or even a garden hose. This aids in visualizing the length and flow. Don’t neglect this. Although it sounds simple, it sets the stage for the entire work.
Step 2: Dig your trench.
Yes, excavation is underway. You should dig a trench that is between 150 and 200 mm deep and about twice as wide as your stones. This is the location of your base. Get that spirit level out and make sure it’s level.
Step 3: Fill and compact the base.
Add your crushed rock and push it down firmly. This distinguishes a wall that leans as if it had a good night out from one that stands firmly.
Step 4: Start with the first layer.
Place the first row of stones in place. Your foundation is this row; if it’s off, the others will be as well. Go slowly. Verify its level. Make sure everything is tight by using your mallet.
Step 5: Stack it up.
Take it row by row. The joints should be spaced like bricks. Vary the sizes to make it appear organic. For added grip, you may apply landscape glue in between layers or dry stack (no mortar).
Step 6: Add drainage.
Backfill with gravel after laying some ag pipe at the base behind the wall. This prevents water from accumulating and eventually pushing out your wall.
Step 7: Finish with caps (optional but classy).
For a neat finish, place flat stones on top. Once the wall is finished, they provide a pleasant spot to sit and have a drink.
Read Also: The Importance of Tile Laying Patterns
Wrapping Up
You now understand exactly how to build a stone retaining wall. This project has the potential to significantly alter not just the appearance of your room but also how you utilize it. Indeed, it requires work. Your hands will become filthy.
You may have painful legs. But after it’s all said and done, you’ll have a sturdy, elegant, and useful item that may be proudly displayed.
Check out Maroota Sandstone if you’re unsure about what sandstone log retaining wall to choose or even where to begin finding high-quality material. With the help of premium Sydney sandstone and frank guidance, your do-it-yourself project will be much simpler and more attractive.
FAQ’s
Ans: Yes. Always. Skipping drainage is like skipping sunscreen on a 40-degree day — you’ll regret it.
Ans: You can do it solo, but having a mate for the heavy lifting makes it way easier (and more fun).
Ans: Recycled stone or local quarry offcuts. They’re often overlooked and way more affordable.
Ans: Absolutely. Just adjust your layout line and go for a gentler curve, looks great in gardens.
Ans: Yes, but for steeper grades, consider stepping the wall or building it in tiers for extra stability.
No responses yet