
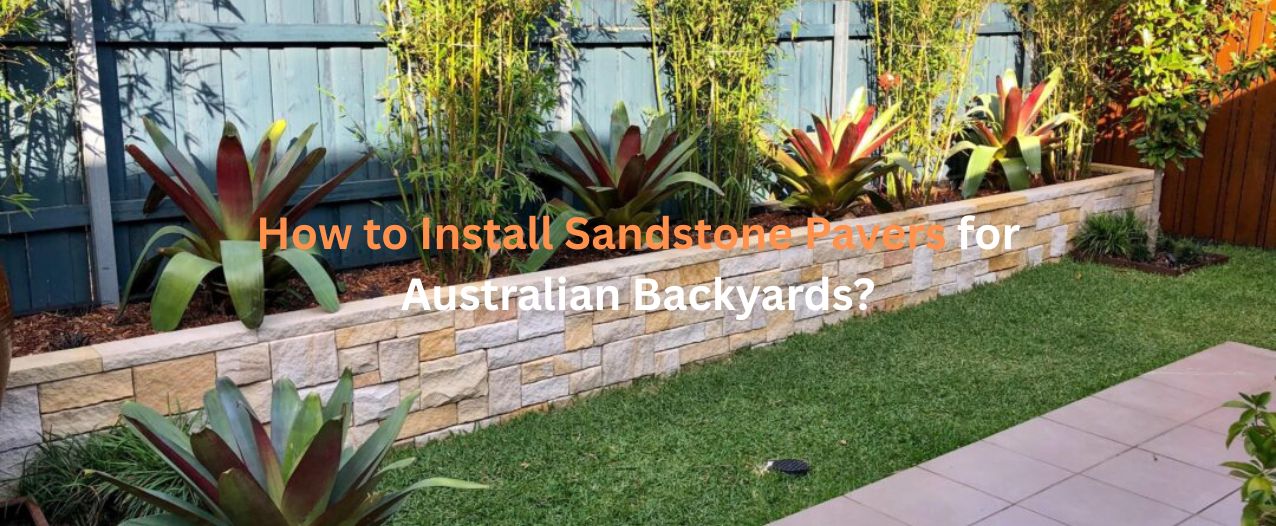
When you were spending time outdoors in your yard, did you ever think, “Something is missing?” It could be a boring and uninviting surface, or it could be the battle with mud every time it rained. If this problem describes you, you are not alone.
Every homeowner wants to have an attractive and functional outdoor space in the backyard that can be an outdoor oasis or sanctuary space. Sandstone pavers can help make that happen.
However, if you have never installed sandstone pavers or are looking for a how to install sandstone pavers blog, then this is for you. You will find that this step-by-step procedure can be simple, straightforward, and even enjoyable.
By the end of this blog, you will learn how to install sandstone pavers, avoid pitfalls that would take your ideal backyard garden, and have a functional backyard space!
What are Sandstone Pavers?
If you haven’t tried sandstone pavers before, consider them nature’s gift to a landscape. The beautiful, deep, earthy look of these naturally shaped stone slabs, formed over millions of years, fits beautifully in any outdoor setting.
Now, why are they so popular? Let’s find out:
- They are very durable, but maybe not forever.
- Sandstone is ideal for the Australian climate, which is hot and dry in summer and wet and cold in winter.
- Each paver has subtle variations in color and texture.
- This non-slip material is perfect for paths and areas around pools.
Why Choose Sandstone Pavers for Your Backyard?
Let’s first discuss why installing sandstone pavers is worthwhile before getting into how to install sandstone pavers.
Make Your Backyard Look Expensive
Let’s face it, remodeling a house may be costly. Sand stone pavers, however, provide you with a luxurious appearance without the exorbitant cost of certain other materials.
Sandstone gives your room a luxury, organic touch that makes it appear like it belongs in a home design magazine, whether it’s a sandstone slab, garden walk, or even sandstone steps.
They’re Built for the Australian Outdoors
Outdoor materials aren’t exactly simple to find in Australia. Extreme temperature fluctuations, abrupt rain, and harsh sunlight are all handled expertly by sandstone. Unlike concrete, which is prone to cracking over time, sandstone weathers well and remains sturdy.
No More Dealing with Mud and Mess
Before you know it, your backyard has become a swamp, and mud has coated everyone’s shoes. It doesn’t look good. Pavers provide a fast solution, ensuring that your area is dry, clean, and usable throughout the year.
Step-by-Step Guide: How to Install Sandstone Pavers
Now for the exciting part: paver placement! Making your backyard seem nice isn’t enough; you also need to do it correctly to ensure that it lasts for many years. Here is the step-by-step guide on how to install sandstone pavers:
Step 1: Planning & Prepping
Prior to putting a single paver, consider this:
- Take measurements of your area since you don’t want to run out of pavers in the middle.
- Choose a pattern: Bond stacking? Random? Herringbone? You decide!
- To delineate your space, use string lines or spray paint.
- Check the drainage system; a puddle growing every time it rains is the last thing you want.
Step 2: Digging & Creating a Solid Base
This is an important step since unsteady pavers result from a poor base.
- To make room for the base and pavers, excavate the area to a depth of 100 to 150 mm.
- Use a plate compactor to compact the earth, or a hand tamper if the area is tiny.
- Compact a base of crushed rock that is between 50 and 75 mm thick.
- Evenly spread out a layer of sand (approximately 25–30 mm).
Step 3: Laying the Pavers
The rewarding part is here!
- Make your way out of a corner by starting there.
- Leave three to five millimeters between each paver.
- Tap them gently with a rubber mallet.
- Continue using a spirit level to ensure that everything is level.
Step 4: Filling the Gaps & Sealing
- To secure everything in place, sweep fine jointing sand into the spaces.
- Settle the pavers, and compact the surface once more.
- Although it is not required, using a sealer makes washing easier and helps avoid stains.
- That’s it! Take a step back, enjoy your creation, and begin organizing your very first garden party.
How Maroota Sandstone Supplies Can Help You
Quality is important when it comes to sandstone pavers, and not all sandstone is made equally. Some are easily chipped or discolored, or they just don’t withstand the severe weather in Australia.
Therefore, picking the appropriate provider is just as crucial as doing the paver installation correctly.
We, Maroota Sandstone, are a reputable brand in the field of sandstone suppliers in Australia, providing high-quality, locally obtained sandstone that is long-lasting, aesthetically pleasing, and well-made.
Common Mistakes to Avoid When Installing Sandstone Pavers
Let’s look at some of the common mistakes that everyone falls for. Here they are:
- Ignoring the base preparation: Pavers will eventually shift if the base is weak.
- Avoiding drainage: Water will collect if it has nowhere to go.
- Making use of incorrect sand: Use only fine jointing sand—never just any old sand.
- Neglect seals the pavers: This keeps them from getting dirty or worn out.
- Not properly separating them: Pavers can crack if they don’t have spaces to expand.
Read Also: What are the Different Types of Sandstone Found in Australia?
Wrapping Up
You now have comprehensive guidance on how to install sandstone pavers and design an attractive yet useful outdoor area.
Just take your time, follow the instructions, and don’t rush if you’re doing this project alone. The effort you put in now will pay dividends for years to come. And if you’re ever trapped. We, Maroota Sandstone, are available to help with that.
Feel free to contact us!
FAQ’s
Ans: Yep! Sealing helps protect against stains, moisture, and weather damage.
Ans: You can totally DIY it if you follow the right steps, but a pro can save you time and effort.
Ans: With proper care, they can last decades—even under the harsh Aussie sun!
Ans: A simple mix of water and mild detergent does the trick—just avoid harsh chemicals.
Ans: They can be, but choosing a textured finish or sealing with a non-slip product helps a lot.
No responses yet